Paul Glatzel offers advice on how best to plan a route before setting out …
In our last article we suggested that the winter would be a good time to start planning for next season and perhaps get used to using your chartplotter – deciding where to go, planning routes, etc. So let’s look at how you can use a plotter and a tablet-based chart app to get some planning done.
If we jump back in time, planning a passage between two locations meant taking a paper chart out, marking a series of points along your intended route (‘waypoints’), working out the latitude/longitude of these points and inserting them manually into your plotter, and then adding these waypoints to the route – cumbersome and often error-prone if the positions were wrong.
Today the process is far quicker, and putting a route into a plotter is simple. But like anything that seems quick, there’s always a chance of error, so it’s worth having a look at how to create a route that’s robust and safe.
When creating a route, your first decision is whether to do your planning on a tablet-based app, then sync the route later to your on-board plotter, or enter it straight into the boat-based plotter. There are pros and cons to both, but given that we’re doing this over the winter, we’ll base this article on imagining you are sitting at home doing it via a tablet-based app. Overall, the approach and key points to remember are much the same whichever method you choose.
The first thing to remember, however, is that when you plan a route using electronic charts you must appreciate that you as the skipper are responsible for ensuring that the route created is safe and does the job. Apps and chartplotters don’t apply ‘seamanship’ to the route entered, and it needs good old-fashioned checking to ensure the route makes sense, avoids hazards and is effective.
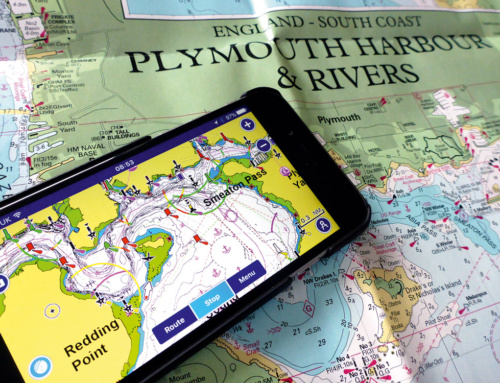
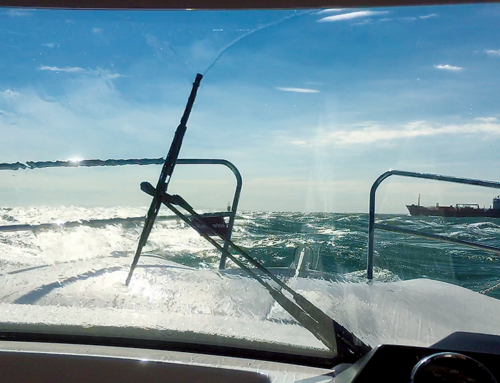
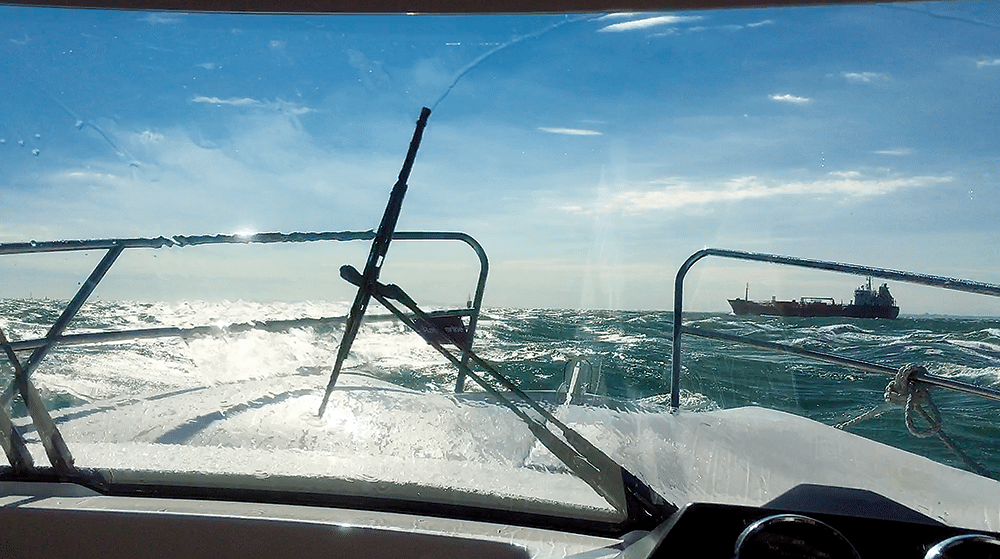
Let’s imagine we want to travel from Poole to Yarmouth in the Solent – a route I travel often. Overall, this is just under a 20-mile passage and we stay pretty close to shore, but there are plenty of hazards on route, so it’s a great example to use.
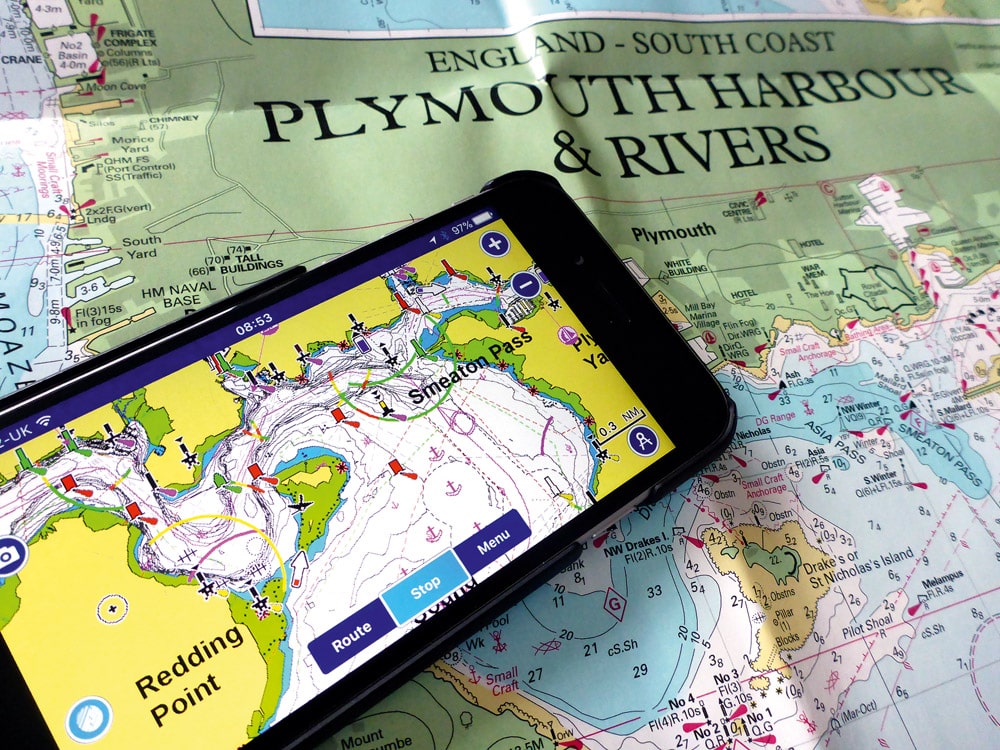
The chart app we’re going to use is Navionics. Navionics offers a choice of two ways to sort a route – automatic or manual. The automatic option allows us to select a start point and a finish point, and by knowing the draught of our vessel and the tidal height throughout the passage, the app decides a route that gives us enough depth to get to our destination. In contrast, the manual option requires us to enter a series of waypoints and the app links them as we go.
Some things to look out for:
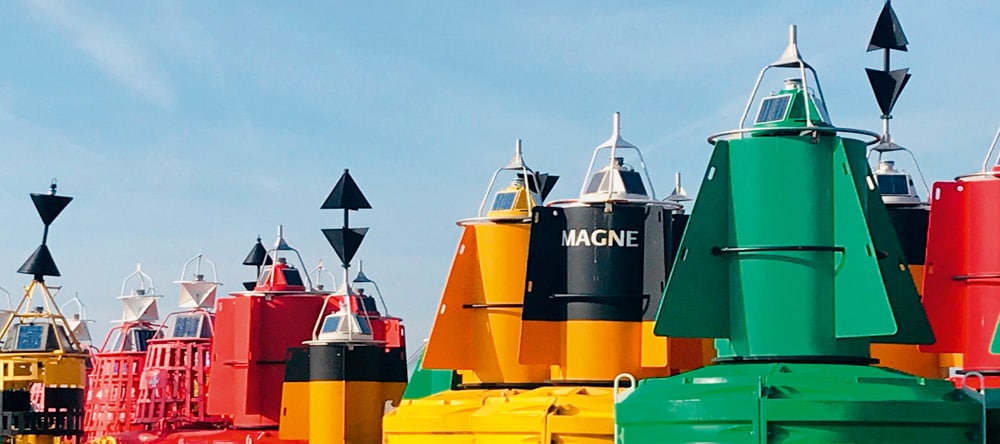
Position a waypoint next to a reference point if possible – doing so ensures that you can ‘tick off’ each as you pass. Avoid waypoints being too close to hard objects, though, or else you risk hitting marks in reduced visibility or if distracted.
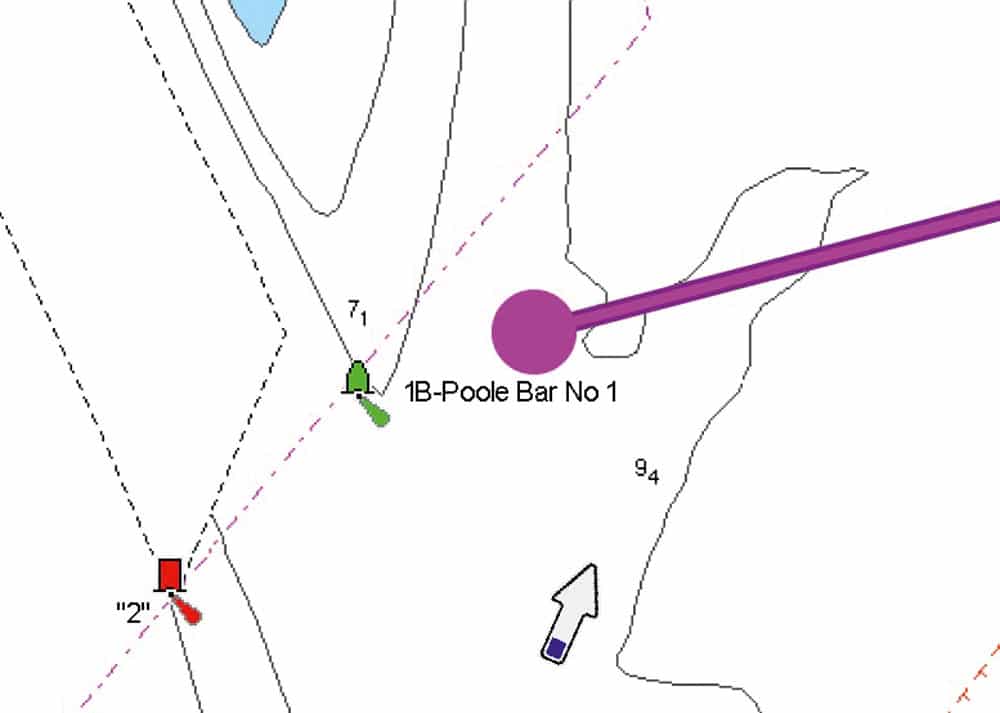
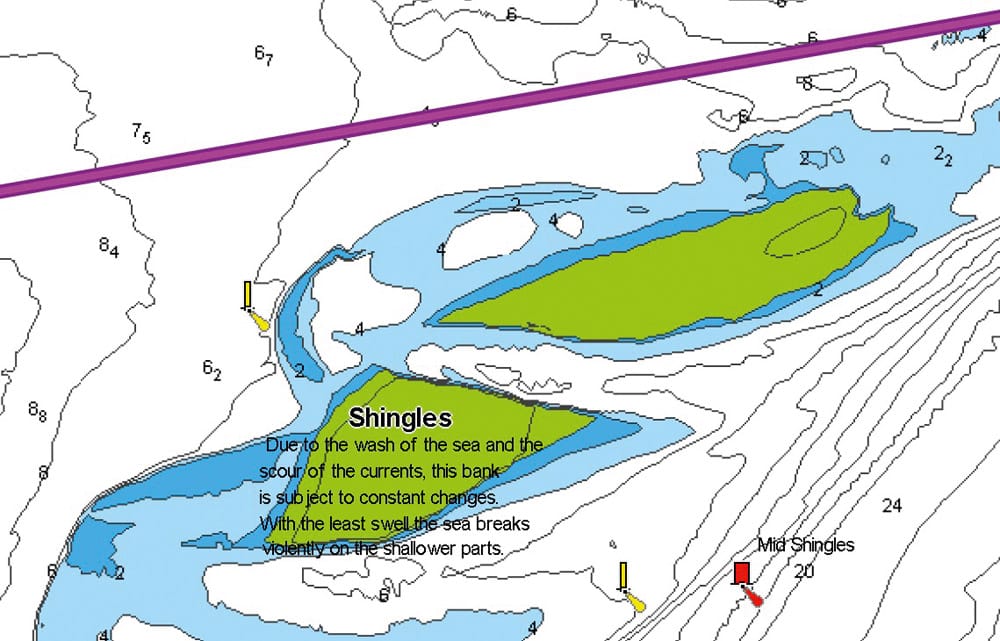
Scroll along your route to check for hazards. Add additional waypoints or drag them to new positions to create ‘sea room’ and clear water away from the hazards.
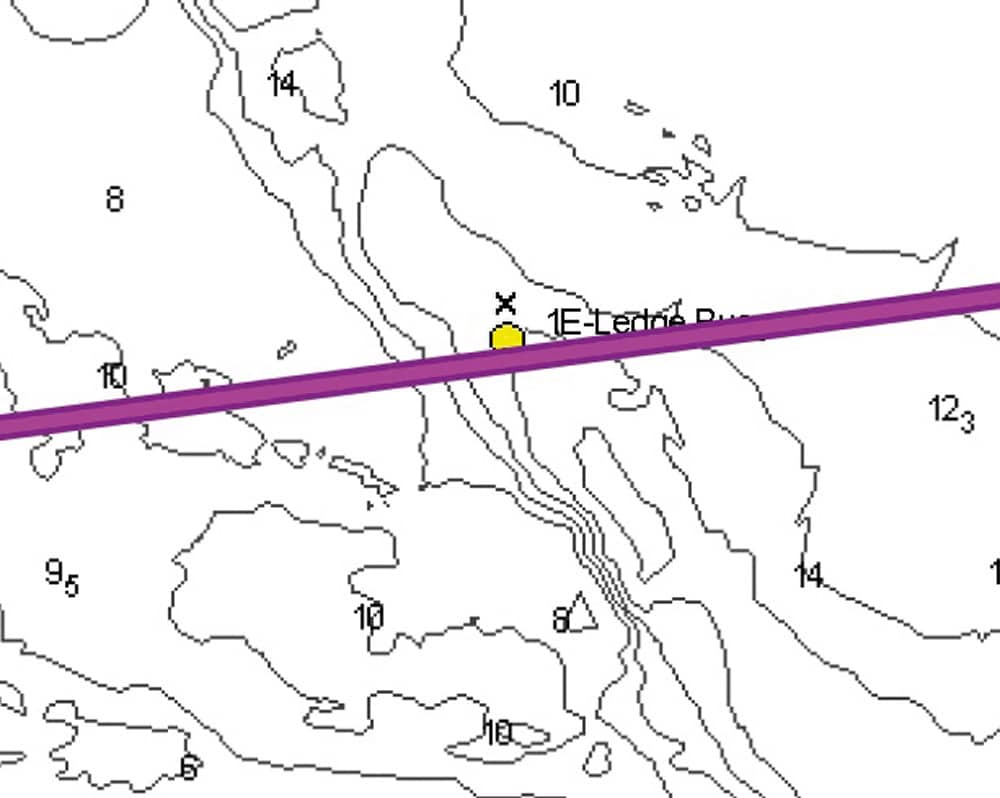
If a route passes from deep to shallow water, conditions can be far rougher due to tide or wind-generated waves in this area. Consider repositioning the route to pass clear of this ridge of shallower water.
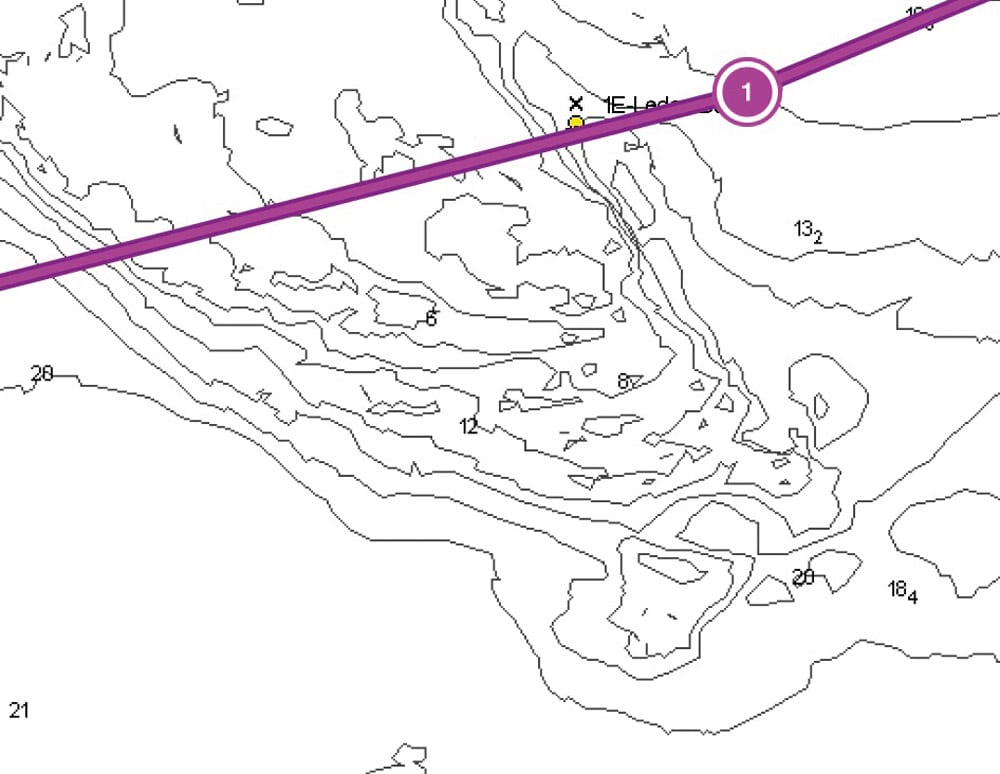
Routes generated by the auto route feature may offer enough depth but don’t necessarily apply good decision-making to the route chosen. In this case, the route passes far too close to an area of shallow water, and also from deep water to shallow water, when this change of depth could be avoided.
Whichever option you choose there are some key points to remember:
Firstly, you – as skipper – must check the route entered carefully. Start by looking at the ‘big picture’ with the screen scrolled out: are there any obvious issues like the route passing too close to a headland or a buoy, or across a shallow area? Then go to the start of the route, scroll in and drag the screen along the route. Drag waypoints or add additional ones to move the route to safer water if you see the chosen route passing too close to hazards. Try placing waypoints in positions where you have some independent means to verify them – for example, off a headland or a buoy (but not too close!) – so that as you pass you have a check method. We call these ‘verifiable waypoints’. (See box out to the right)
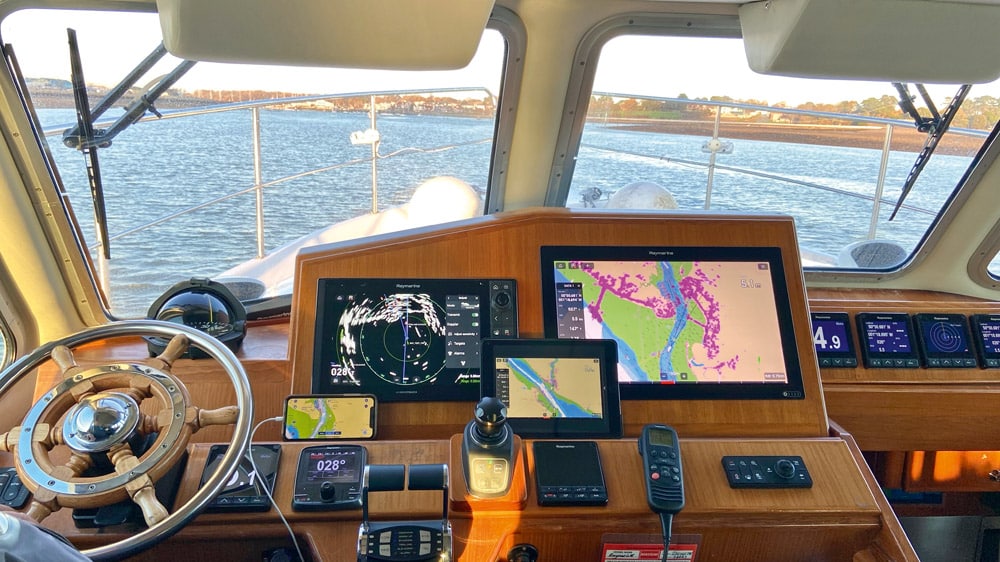
Once you have finalised the route on the app, you’ll need to get it across to the plotter. With all the major manufacturers offering apps to control their plotters, how you achieve this transfer will depend on which chart app you possess and which plotter make you are using. There are too many combinations to address them here, but I find that someone has always done a YouTube video on the set-up you have, so try there first.
Once you have the route in your plotter, do make sure that you take the time to set up the plotter screens to support navigating a route. By default, I find that plotters don’t tend to have a screen set-up that shows a rolling road and databoxes indicating distance to waypoint, bearing to waypoint, cross track error, etc. Getting these set up makes navigating the route far easier.
Finally, before executing your passage, make sure you put in some practice time with shorter routes, change screen layouts, practise adding waypoints on the plotter, and so on. Doing these things ahead of heading out makes life far easier when doing it for real.
Keep safe and have a great time afloat!
Check out Powerboat and RIB TV
Paul Glatzel and Tom Montgomery-Swan discuss all aspects of getting afloat. The RYA Powerboat Handbook and the RYA Advanced Powerboat Handbook are available in print or as e-books from the RYA shop at rya.org.uk/shop.
Paul Glatzel
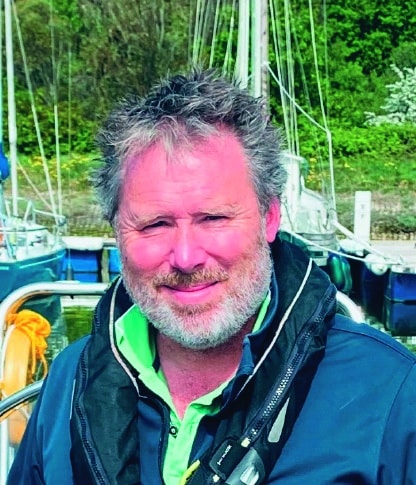
RYA powerboat and personal watercraft trainer and wrote the RYA Powerboat Handbook and the RYA Advanced Powerboat Handbook. He runs Powerboat Training UK and Marine Education in Poole and Lymington (www.powerboattraininguk.co.uk and www.marine-education.co.uk).
Related Posts

