Paul Glatzel discusses the essential issue of anchoring your boat, and shares some important tips of the trade …
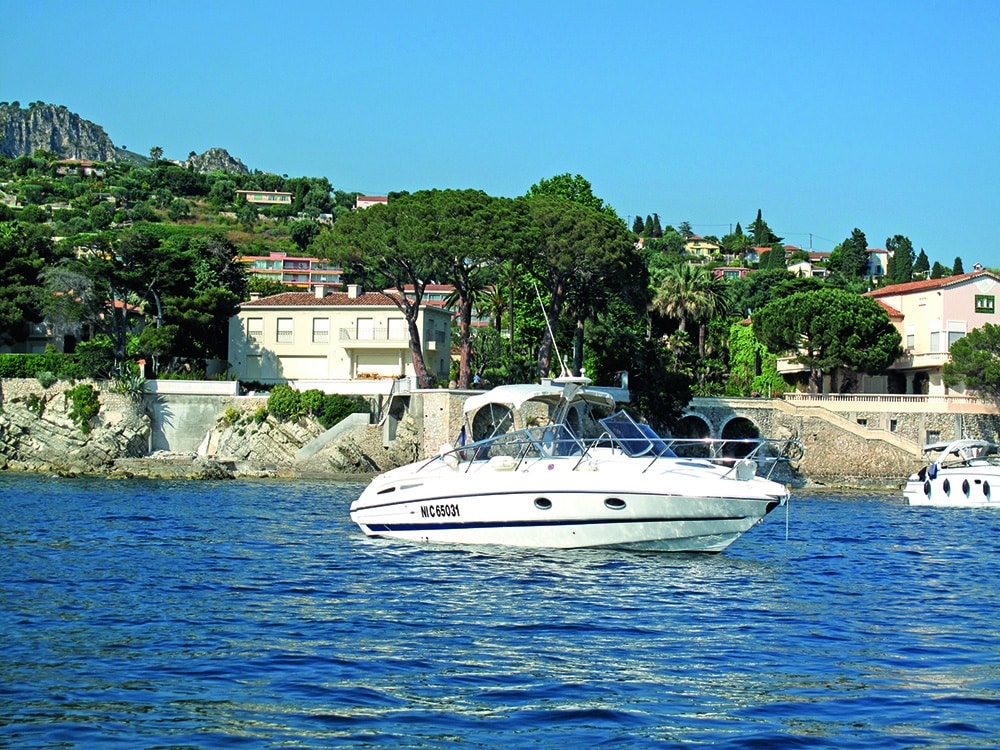
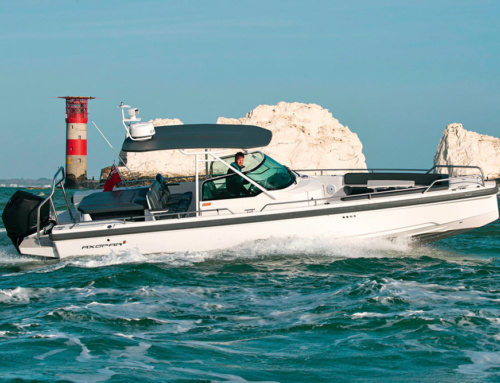
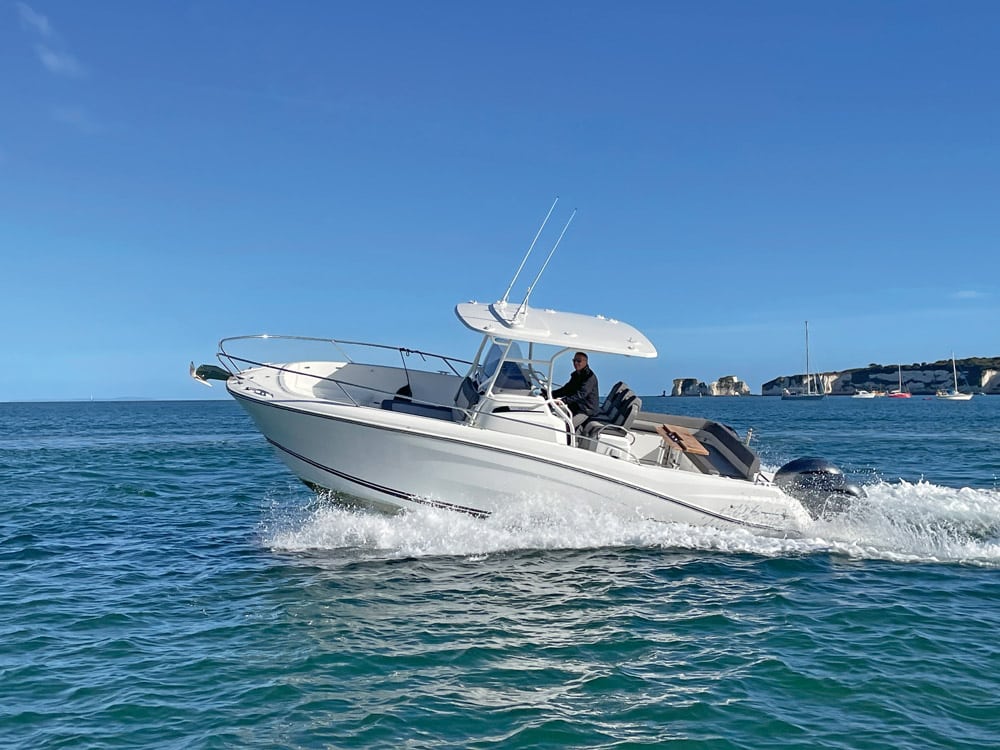
Making the most of your boat is largely about being able to anchor in a secluded bay and chill out, read the paper or perhaps watch the kids as they swim around the boat without a care in the world. If you’re going to stop in such a location, then anchoring is a key skill to master.
Anchoring is really simple, isn’t it? You just get the lump of metal that’s in the bow locker and tip it over the bow, let out a bit of rope and voilà! Sorted! Certainly anchoring is hardly rocket science, but equally it’s easy to get it wrong and end up spoiling a good day out. So in this article we’ll come up with some hints, tips and tricks to make it all a bit easier and thus more relaxing.
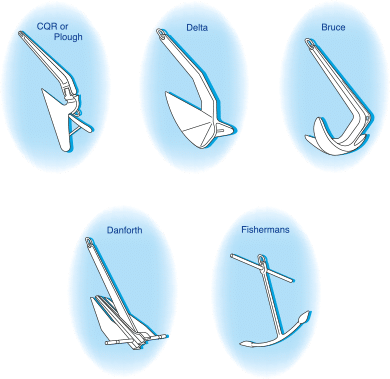
Let’s start with the basics. Successful anchoring begins with making sure the set-up on your boat is right. The anchor itself needs to be suitable for the boat and the locations you are likely to anchor in. To get this right, pop into the local chandler and have a chat with them. They will want to know how big/heavy the boat is so they can specify a certain size/weight of anchor. They will also help you decide what type of anchor you need for the seabed in the area you are based in. What anchor you choose will be heavily influenced by where you stow the anchor, as if the anchor is recovered and seats into the bow fairlead (a metal structure at the bow), you are likely to have a plough-style anchor, while if stored in a bow locker, then a Danforth or hinged plough style (usually known as a ‘CQR’) will probably be the choice. One anchor to certainly discount – unless you have a really small boat – is a grapnel, as these have relatively poor holding compared to a Danforth or plough.
You will also need rope (referred to as ‘warp’) and some chain, or on larger craft perhaps just chain. On boats up to about 26ft, you will almost always have a mixed chain/warp combination, as unless you have an electric motor to lift the anchor (known as a ‘windlass’) you’ll struggle to lift it. Boats with a windlass may have just chain, but generally with craft up to about 34ft you’ll have perhaps 10–20 m of chain and then around 50m+ of warp.
If you are going to always be manually lifting the anchor, something like 4–8 m of chain will do.
So what’s the point of the chain? It has three uses: 1) the way it lies flat on the seabed means that the pull will be horizontal, which optimises the way that the anchor works; 2) it increases the overall weight of what you are putting down, which in calmer conditions may even hold the boat without the anchor needing to dig in; and 3) if the seabed is rocky the chain is less susceptible to chafe.
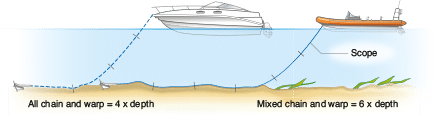
In terms of the warp, you will need to decide how much you need. This will be determined by the depth you are likely to be anchoring in. The recommendation is that if you have just chain, you need to deploy 4x the depth. If you have mixed chain/warp, the recommendation is 6x. As an example, if you intend anchoring in 5m of water, you’ll need 6x that, so 30m. Have a look at your local area and at both the bays you want to go to and the depth there, and factor in the tidal range. But also look at the areas you will transit through and so where you may need to get an anchor down in an emergency. Perhaps your favourite bay is 5m at chart datum and there’s up to 4m of tide, so there you would need 54m. But what if all the area around that is 15m? With a tidal range of 4m you may need 15m + 4m x 6, or just about 120m. This is a lot of rope and is pretty impractical in smaller boats, so something like 60–80 m would be more sensible.
You need to attach the rope to the chain and the chain to the anchor. Typically you’d use galvanised shackles with the shackle pins being secured with small cable ties. With the line to the chain you can have it spliced, but it’s generally better to tie something like a round turn and three or four half hitches and then secure it with cable ties, so that if necessary you can quickly free the line and it can double as a tow rope.
Don’t forget the means of attachment at the end of the line to the boat. It may be that you need to secure to a cleat on deck, but if there is a point to attach to in the locker, you’ll secure to this point.
 The anchoring process
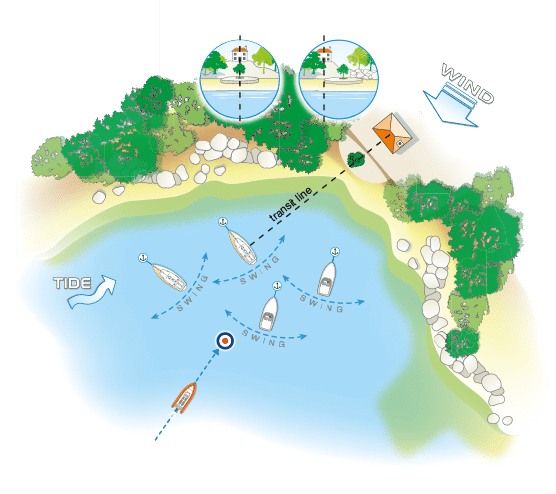
So let’s look at the process of anchoring. Start by choosing a location in which to anchor. Look at a chart to check the seabed and if possible select an area with mud or sand as holding will be better. Look at other craft (if there are any) and approach the position where you want to anchor in the way they are pointing. Having made sure that you have set up the anchor and line before you approach, stop, then ease the anchor towards the seabed – don’t drop it all in one go! Once the anchor has touched the bottom (it will feel lighter), ease out the 6x you need to deploy. Once you have enough out, let the boat settle. At this stage you may put a little bit of power on in reverse to dig the anchor in – be careful, though, as in a softer seabed too much power ends up just dragging the anchor through the seabed.
At this stage you need to make sure that the anchor isn’t being dragged along the seabed.
There are a few ways of deciding whether you are dragging. The best is a simple transit out of the side of the boat. Line up, say, a tree and a bush, and if they stay in line you are not dragging. You could also take a bearing with a hand bearing compass – or sometimes feeling the anchor line will indicate if the anchor is being pulled along. If you have a chartplotter there will be an ‘anchor watch’ alarm. The slight issue with these can be that in busy areas or small bays even 20m of drag can get you into trouble, and it’s not always easy to detect such small distances of drag.
When you are anchored it’s generally best to stay with the boat, and indeed your insurers may require it anyway. Keep an eye on boats around you and check they aren’t dragging too, as it can get quite messy if other boats drag over your line.
Raising the anchor will need a coordinated approach from those on board, with the person at the bow indicating a metre or two of forward movement before you then raise the line, repeating this until the anchor is raised.
If all goes well, anchoring can be pretty straightforward, but if you get the anchor caught in among rocks, it can be really difficult to break the anchor free. If you know this is a potential issue where you are anchoring, rig a tripping line. This is a line tied to the end of the anchor, which then, with a buoy on the end of the line, floats on the surface above the anchor. If the anchor is snagged, pulling vertically on this line may pull it free. In calmer conditions it may be that reversing the craft round so the anchor can rotate on the seabed may free it – as could pulling the line up until it is taut, then easing carefully forward to create a pull in the opposite direction to the way it dug in. Always carry a serrated knife, though, and if necessary, be prepared to sacrifice the anchor and line rather than risking injury to those on board.
As with all things boating, keep it simple initially and anchor in easy locations first to hone your skills. When at anchor, keep an eye out for what’s going on and keep checking to ensure you remain safe – especially as the tide/weather changes. Being anchored up watching the world go by can give you some of the most enjoyable time that you have afloat! Have fun!
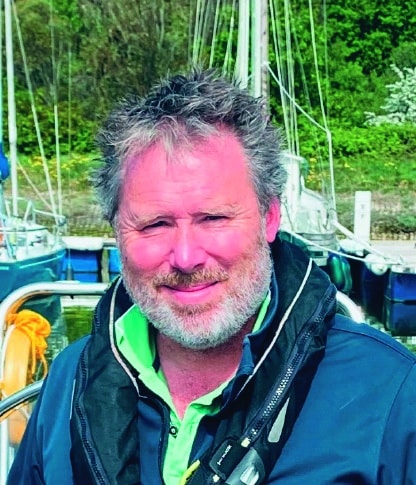 Paul Glatzel is an RYA powerboat trainer and wrote the RYA Powerboat Handbook and the RYA Advanced Powerboat Handbook. He runs Powerboat Training UK and Marine Education in Poole and Lymington (www.powerboattraininguk.co.uk / www.marine-education.co.uk).
Related Posts
