One of the great freedoms of having a small boat is the ability to trail it to new and interesting locations. With that freedom, though, comes some extra challenges, as Paul Glatzel explains.
Having trailed and launched boats for over 30 years, I’ve made or seen pretty much every mistake it is possible to make when launching and trailing a boat. Lost a wheel on a single-axle trailer on the M25 in the middle lane – done it! Launched without the bung in – done it! Driven 120 miles and forgotten the boat keys – done it! In this article we’ll look at both launch/recovery and trailing a boat, and hopefully share some tips and tricks to make it all easier and ultimately make sure that you have fun afloat.
If you are trailing your boat to a launch site, the Internet makes it so much easier to prepare for the launch. In advance, check out sites like Google Maps and Boatlaunch.co.uk to see what advice there is about launching at the slipway. Do you need to pay? Can you launch a boat with the size of engine you have (some limit launching to smaller outboards)? How accessible is the area with a boat in tow (beware following a satnav when nearing a slipway as they don’t factor in trailers!)? Where can you park? etc.
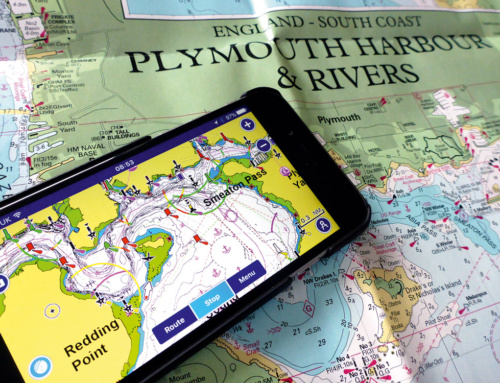
Use apps such as Navionics and Tides Planner to check that you have enough depth of water to launch and whether the area immediately around the slipway is navigable, as it can be a little embarrassing to turn up all gung-ho and find out you have no water for a few hours. Also, look for where you can moor your boat after launching or when returning to recover.
On arrival, it’s usually best to park up away from the slipway so you don’t obstruct it. If you have no choice but to park up on the slipway, then tuck over to one side so others can still launch. Once there, take everything slowly, not least because you need to let the bearings on the trailer cool before immersing them.
Explanation: When trailing, the grease that lubricates the bearings liquefies and putting the trailer straight into the water with hot bearings risks washing out some of this grease. Without the grease the bearings will overheat and fail, with the result that the wheel can fall off.
Now take a close-up look at the slipway. How steep is it? Will you need to use a line to launch? Does the angle change? Is it slimy? Does it have walkways either side? Is there a drop-off? Are you limited by tide? If there are other people launching, just stop and watch – see what they do and note any issues they have. With this knowledge, start to form a launch plan.
Before starting the launch, get your checklist out and go through the checks you need to make: keys and kill cord, bungs in, tailboard off, kit on board, ideally start the engine using muffs/a hose etc.
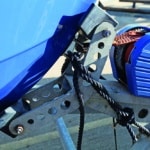
- Correct securing of winch strap and transport lines is essential
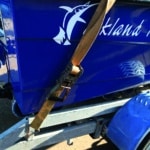
- Over bow tension strap
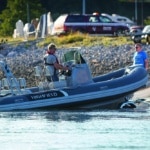
- Recovering in a strong cross current can be challenging to getting the boat on the trailer straight.
When you have all the information to hand and are ready to launch, the key decision is: can I launch with the trailer attached to the tow vehicle or does the slipway have a really shallow slope so I will need to (in effect) extend the trailer by using a long line or a pole? If in doubt, start with the trailer attached, as it is the safer method.
Before launching, get any children and pets out of the vehicle. Open both front windows fully to aid communication and allow exit from the vehicle if it enters the water.
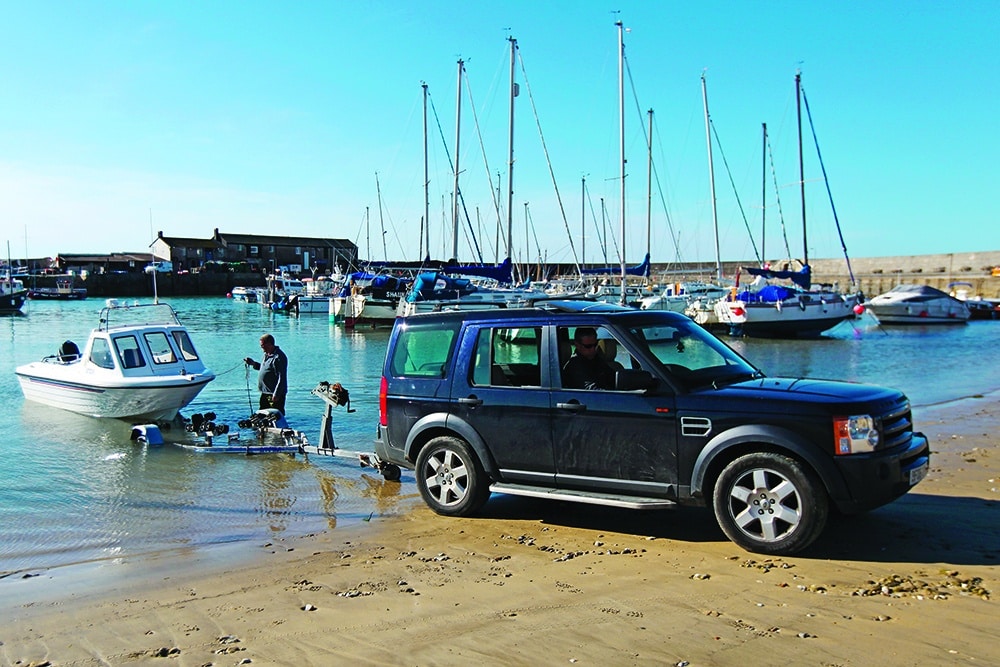
In an ideal world, there will be a walkway alongside the slipway. Attach lines to the bow and stern, ensure the slipway is clear and reverse towards the water. Just short of the water, stop and have a final check. With the boat still attached to the trailer, reverse into the water until the stern floats – only at this stage should you unattach the vessel and use the bow and stern lines to gently pull it alongside the pontoon/wall that your helpers are on.
Tip: A set of waders can make entering the cold water a more pleasant experience.
The angle of the slope and whether you have a bunk or roller trailer will affect how you go about the launch, and as mentioned, you may need to extend the trailer so you can get it deep enough into the water without dunking the tow vehicle.
Because the trailer/boat is going to be unattached you are increasing the dangers, so think everything through slowly as you do it. Reverse towards the water’s edge with the trailer attached to the vehicle. Stop short, chock both trailer wheels and apply the handbrake. DO NOT rely on the trailer handbrake. Tie a ‘bowline’ around the winch post using a thick line (something like 14mm plus). Deploy the jockey wheel, making sure you NEVER put your feet under the trailer as jockey wheels can give way. Unattach the trailer and tie the line using a round turn and two half hitches to the towball.
Note: Have a dedicated launch line about 40 foot long that you don’t mind getting greasy for this job.
Drive the vehicle forward and take up the strain so you can release the handbrake and remove the chocks. Slowly reverse towards the water, controlling the movement of the trailer. When the stern is floating, task a helper to remove the two means of attachment. Slowly drive up the slipway, remembering that the trailer is only on a rope and may slew left or right or run into the back of your vehicle as you stop.
When launching using a rope, avoid pushing a trailer onto a slope to take up the slack in the rope as the momentum the trailer gains and snatch load placed on the line may snap the line.
Safety point: ALWAYS ensure the boat is attached to the trailer with TWO means of attachment – the winch strap and a backup line. Only remove either of these when the boat is floating and won’t roll off.
Many slipways don’t have walkways alongside them, so there will be a need to either drive the boat off the trailer or push it off and hold it with a line from within the water. The best method will vary according to the location, but whichever you choose, really try to ensure you start the boat before launching and warm it up, as fixing issues once it is clear of the trailer is impractical.
Once launched, if you can, immediately wash the trailer, and especially the brake hubs. Braked trailers cause no end of hassle as brake systems are simply not designed to cope with immersion in seawater, and you will need to adopt a very proactive approach to keeping your brakes working and thus legal. Fitting a flush kit to the hubs is really worth it as this brings fresh water closer to the brake components, thereby extending their life. After each recovery, use a grease gun to inject more grease into the bearings and regularly get the trailer serviced.
Note: Where the trailer/boat is under 750kg, brakes are not required, but still get the trailer serviced.
As you leave the trailer, if possible, never leave the handbrake on as the brake shoes tend to bind to the hubs and can become something of a mission to get free. When storing the trailer for a longer time, again for the same reasons, do not engage the handbrake if safe not to do so.
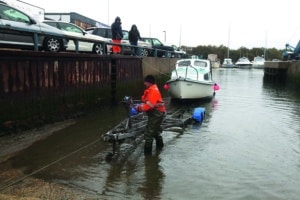
Recovering the boat to the trailer is just the opposite of the launch. My preference will always be to adopt a slow methodical approach with a helper in the water wearing waders to guide the vessel slowly onto the trailer, thereby limiting the chances of mistakes and damage. Be careful if driving a boat onto a trailer where the line method has to be used as there is a risk that the boat may push the trailer up the slipway into your helper.
Once the boat is on the trailer, never pull the trailer up the slipway without those two means of attachment engaged.
Now you are ready to prepare the trailer/boat for trailing. Give the vessel a thorough wash and if possible use engine ‘muffs’ to flush the engine with fresh water. Remove the bungs and stow kit securely. Again use a checklist to ensure you don’t forget anything.
To attach the vessel to the trailer, my preference is to use ratchet straps rather than lines. Make sure the straps are stronger versions and use two to attach the rear D-rings on the transom of the boat to the trailer. Run one ratchet strap from the bow D-ring back on the trailer to arrest forward movement. Use another to go forward to arrest rearward movement. Use the painter line to tie the bow tightly to the winch post and ensure the winch strap is tight too.
Avoid running straps over the top of tubes on a RIB as they don’t hold the vessel tightly enough and will wear the tubes. Use offcuts of carpet between the straps and hull to reduce wear, and if the ratchet handles are near the hull, wrap them in carpet offcuts and tape them up.
Check your tailboard works, and your brakes, and once on your way, stop after about 10 minutes (and regularly thereafter) to retighten the straps. After about 30 minutes, stop and carefully touch the brake hubs. They should be warm but not hot. If they get hot you either have an issue with the brake shoes rubbing or the bearings. Either will need investigating.
Never use wire winch cables. Always use the nylon strap variety.
Towing kit to carry
- Breakdown membership including trailer cover
- Spare ratchet straps
- Foot pump
- Spare wheel/tyre
- Spare wheel nuts
- Tool kit including socket set
- Set of bearings
- Grease
- Grease gun
- Bottle jack
- Bulbs for tailboard
- Latex gloves
- Gaffer tape
- Lots of cable ties
Towing and launching in new areas does create some challenges, but the benefits far outweigh the costs, so get hitched up and go exploring!
TOP Tips
- Create checklists for launching and trailing.
- Check and double-check everything – never assume!
- Buy some waders – best £20 you will spend!

